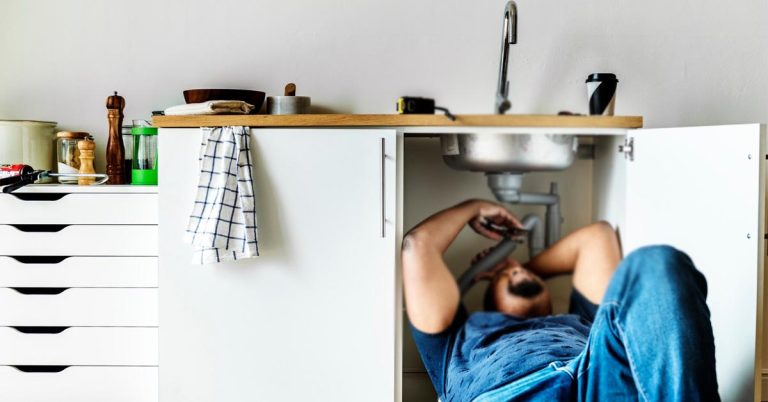
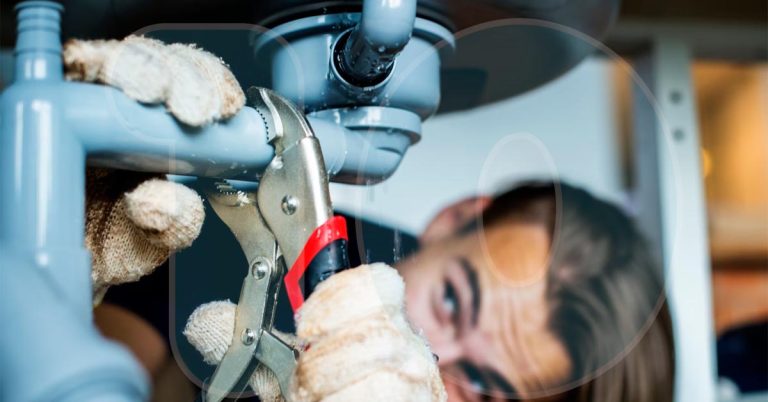
Stop Water Damage: How to Fix a Leaky Pipe on Your Own
A leaky pipe may seem like a minor inconvenience, but if left unchecked, it can cause significant water damage, mold growth, and skyrocketing water bills. The good news? You can fix most minor pipe leaks with essential tools and materials.
In this step-by-step guide, we’ll show you how to fix a leaky pipe yourself, from identifying the cause of the leak to choosing the right repair method. By following these easy instructions, you can stop water damage in its tracks and save money on costly repairs.
However, if the leak persists or you’re unsure about the repair, NYC 24/7 Plumbing Pros is here to help. Call us at (332) 233-7070 for fast and reliable pipe repair services.
Table of Contents
Why Do Pipes Leak?
Before you start making repairs, it’s essential to understand why pipes leak. Identifying the cause helps you choose the proper fix and prevents future leaks.
Corrosion and Rust
Over time, metal pipes, especially galvanized steel or copper, can corrode due to water’s chemical composition. This corrosion weakens the pipe walls, leading to leaks.
High Water Pressure
Excessively high water pressure stresses pipes, causing them to crack, burst, or develop leaks at weak points or joints.
H3: Loose or Damaged Joints
Pipe joints can become loose or damaged due to temperature fluctuations, water pressure changes, or natural wear and tear, resulting in leaks at the connection points.
Cracks and Punctures
Accidental damage, freezing temperatures, or aging can cause cracks and punctures in pipes, leading to water leakage.
Safety Precautions Before You Begin
- Turn Off the Water Supply: Locate the shut-off valve closest to the leaky pipe and turn it clockwise to stop the water flow. If you can’t find it, turn off the main water supply for your home.
- Drain the Pipes: Open faucets and flush toilets to release any remaining water in the pipes.
- Turn Off the Electricity (If Necessary): If the leak is near electrical outlets or appliances, turn off the power at the breaker box to avoid electrical hazards.
- Protect Your Work Area: Place a bucket under the leak to catch any remaining water, and use towels or plastic sheets to protect surrounding areas.
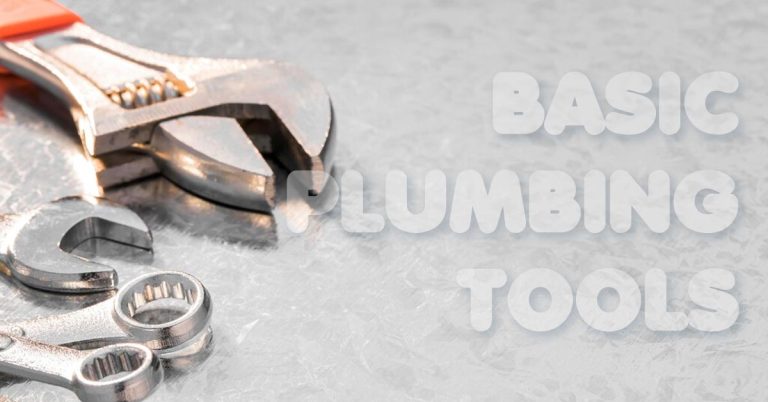
Tools and Materials Needed
Before you start fixing the leaky pipe, gather the following tools and materials:
- Adjustable Wrench: For tightening connections.
- Pipe Cutter or Hacksaw: This is used to cut out damaged sections of the pipe.
- Plumber’s Tape (Teflon Tape): Ensures a watertight seal on threaded joints.
- Pipe Repair Clamp: Temporary fix for small leaks or cracks.
- Epoxy Putty: Seals small cracks and pinhole leaks.
- Pipe Repair Kit: Includes rubber patches and clamps for a quick fix.
- Replacement Pipe Section and Couplings: If a section of the pipe is severely damaged and needs replacement.
- Bucket and Towels: To catch water and clean up the work area.
Step-by-Step Guide to Fixing a Leaky Pipe
1. Identify the Type of Leak
Before you begin the repair, identify the type of leak:
- Pinholes or Small Cracks: Usually caused by corrosion or minor damage.
- Joint Leaks: Occur at pipe connections due to loose or damaged fittings.
- Cracks or Punctures: Caused by impact damage or freezing temperatures.
- Severely Damaged Sections: Cutting out and replacing the damaged pipe is required.
Pro Tip: Dry the pipe thoroughly and use a flashlight to pinpoint the exact location of the leak.
2. Fixing Pinholes and Small Cracks with Epoxy Putty
Epoxy putty is ideal for sealing small cracks and pinholes. It hardens to form a watertight seal.
Step-by-Step Guide:
- Turn Off the Water Supply and Drain the Pipe
- Clean and Dry the Area: Use sandpaper to roughen the area around the leak, ensuring better adhesion.
- Prepare the Epoxy Putty: Knead a piece with your fingers until it’s well mixed and pliable.
- Apply the Putty: Press the putty firmly over the leak, smoothing it out to cover the damaged area completely.
- Allow It to Cure: Let the putty cure for the recommended time (usually 30–60 minutes).
- Turn the Water Back On and Test: Turn on the water supply and check for leaks.
Why It Works: Epoxy putty hardens into a durable, waterproof seal, effectively stopping small leaks.
Pro Tip: Wear gloves when handling epoxy putty to avoid skin irritation.
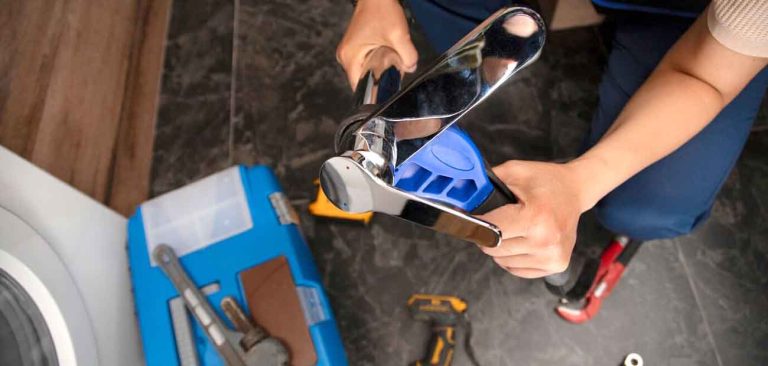
3. Fixing Leaks at Pipe Joints with Plumber’s Tape
If the leak is coming from a joint or threaded connection, using a plumber’s tape can fix the problem.
Step-by-Step Guide:
- Turn Off the Water Supply and Drain the Pipe
- Disassemble the Joint: Carefully use an adjustable wrench to unscrew the leaking joint.
- Clean the Threads: Clean the threads with a wire brush to remove debris or old tape.
- Apply Plumber’s Tape: Wrap Teflon tape around the male threads clockwise. Apply 2-3 layers for a secure seal.
- Reconnect and Tighten: Reassemble the joint, tightening it securely with a wrench.
- Turn the Water Back On and Test: Turn on the water supply and check for leaks.
Why It Works: Plumber’s tape creates a watertight seal, preventing leaks at threaded joints.
Pro Tip: Always wrap the tape clockwise to prevent it from unraveling when tightening the joint.
4. Using a Pipe Repair Clamp for Temporary Fixes
Pipe repair clamps provide a quick and temporary solution for larger cracks or punctures.
Step-by-Step Guide:
- Turn Off the Water Supply and Drain the Pipe
- Clean the Damaged Area: Dry the pipe and remove any dirt or corrosion.
- Position the Repair Clamp: Place the rubber gasket of the clamp directly over the leak.
- Secure the Clamp: Tighten the bolts evenly to ensure a secure and leak-proof seal.
- Turn the Water Back On and Test: Test the repair by turning on the water supply and checking for leaks.
Why It Works: The rubber gasket forms a seal around the damaged area, stopping the leak temporarily.
Pro Tip: Pipe repair clamps are temporary solutions. For a permanent fix, plan to replace the damaged pipe section.
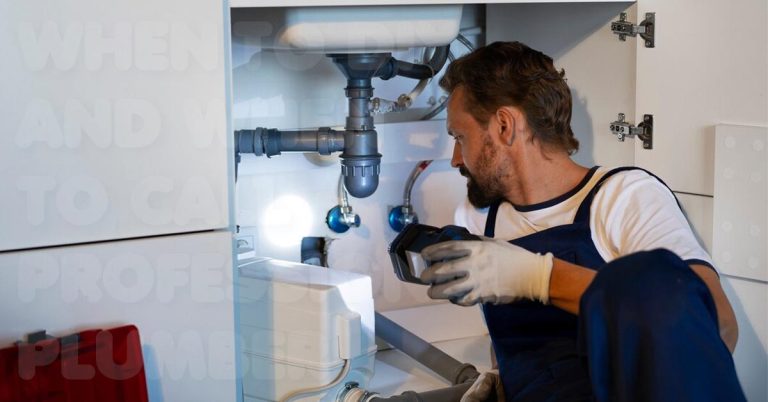
When to Call a Professional Plumber
While most minor leaks can be fixed with these DIY methods, there are times when you should call a professional:
- Multiple Leaks: If you discover multiple leaks in the same pipe, it may be due to corrosion or aging pipes.
- Low Water Pressure: If water pressure drops significantly, it could indicate a serious leak or blockage.
- Structural Damage: If water damage spreads to walls, ceilings, or floors, a professional inspection is necessary.
- Complex Repairs: If the leak is in a difficult-to-reach area or involves major plumbing components.
NYC 24/7 Plumbing Pros offers expert pipe repair services around the clock. Call us at (332) 233-7070 for fast and reliable assistance.
Fixing a leaky pipe doesn’t always require calling a plumber. With these DIY methods, you can stop water damage, save money, and prevent costly repairs. However, if the leak persists or involves complex plumbing issues, don’t hesitate to contact NYC 24/7 Plumbing Pros.
Call us today at (332) 233-7070 or visit nycplumbingpros.com to schedule a service.
FAQs
Can I use duct tape to fix a leaky pipe?
Duct tape is a temporary solution but not a long-term fix. It’s better to use a pipe repair clamp or epoxy putty.
How do I know if a pipe leaks behind a wall?
Signs include water stains, peeling paint, musty odors, and unexplained increases in water bills.