Step-by-Step Guide to Replacing Toilet Parts
Is your toilet constantly running, not flushing correctly, or leaking water? These common toilet problems are often caused by worn-out parts that can be easily replaced without calling a plumber. Replacing toilet parts is a straightforward DIY task that can save you money on water bills and costly repairs.
In this step-by-step guide, we’ll explain how to replace the most common toilet parts, including the flapper, fill valve, flush valve, and handle. With essential tools and a little know-how, you can quickly get your toilet back in working order.
However, if the problem persists or you’re unsure about the repair, NYC 24/7 Plumbing Pros is here to help. Call us at (332) 233-7070 for fast and reliable toilet repair services.
Table of Contents
Why Replace Toilet Parts?
Replacing worn-out toilet parts fixes common issues, improves efficiency, and saves water. Here are some common signs that indicate it’s time to replace toilet parts:
Constantly Running Toilet
A constantly running toilet is usually caused by a faulty flapper or fill valve. This wastes water and increases your utility bills.
Weak or Incomplete Flush
If the toilet doesn’t flush thoroughly, the flush valve or handle may be worn out or misaligned, preventing proper water flow.
Leaking Toilet
Water leaking around the base or from the tank is often due to worn-out gaskets, bolts, or a cracked flush valve.
Loose or Broken Handle
A loose or broken handle makes it difficult to flush the toilet and may require replacement.
Pro Tip: Replacing toilet parts is cheaper and easier than replacing the entire toilet.
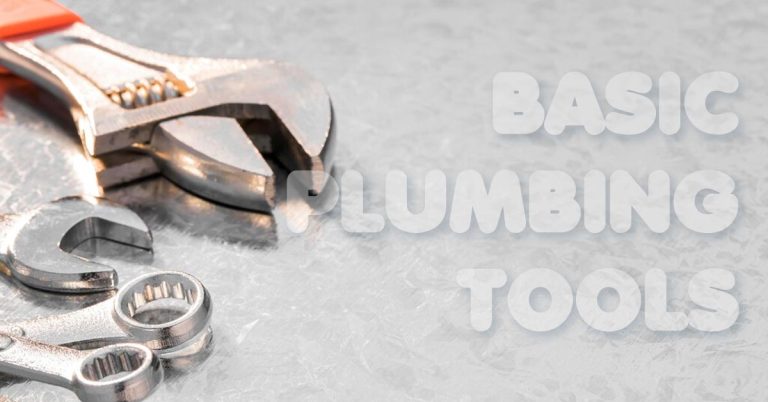
Tools and Materials You’ll Need
Before you begin, gather the following tools and materials to make the replacement quick and easy:
- Adjustable Wrench: For tightening and loosening nuts and bolts.
- Screwdriver: For removing and securing screws.
- Pliers: To grip and adjust small parts.
- Replacement Parts: Depending on the issue, you may need a new flapper, fill valve, flush valve, or handle.
- Plumber’s Tape (Teflon Tape): Ensures a watertight seal on threaded connections.
- Sponge and Towels: To absorb water and clean up spills.
- Bucket: To catch excess water during disassembly.
Pro Tip: Turn off the water supply before starting any toilet repair to avoid water damage.
Step-by-Step Guide to Replacing Common Toilet Parts
1. How to Replace a Toilet Flapper
The most common cause of a running toilet is a faulty or worn-out flapper. Replacing it is quick and easy.
Step-by-Step Guide:
- Turn Off the Water Supply: Locate the shut-off valve behind the toilet and turn it clockwise to stop the water flow.
- Drain the Tank: Flush the toilet to empty the tank. Use a sponge to soak up any remaining water.
- Remove the Old Flapper:
- Disconnect the chain from the flush handle.
- Unhook the old flapper from the pegs on the overflow tube.
- Install the New Flapper:
- Choose a flapper that matches your toilet model.
- Attach the new flapper to the pegs on the overflow tube.
- Connect the chain to the flush handle arm, leaving a little slack.
- Test the Flush: Turn on the water supply and flush the toilet to check for proper operation.
Why It Works: A new flapper creates a watertight seal, preventing water from leaking into the bowl and stopping the toilet from running.
Pro Tip: If the chain is too tight or too loose, adjust it to ensure the flapper opens fully and closes tightly.
2. How to Replace a Fill Valve
If your toilet runs continuously or the tank takes too long to refill, the fill valve may be faulty and need replacement.
Step-by-Step Guide:
- Turn Off the Water Supply and Drain the Tank
- Disconnect the Water Supply Line:
- Use an adjustable wrench to disconnect the water supply line from the bottom of the fill valve.
- Remove the Old Fill Valve:
- Unscrew the lock nut under the tank and lift out the old fill valve.
- Install the New Fill Valve:
- Position the new fill valve in the tank, adjusting the height to match the overflow tube.
- Tighten the lock nut underneath the tank.
- Reconnect the Water Supply Line:
- Use Teflon tape on the threads to ensure a watertight seal.
- Reconnect the water supply line and tighten it with an adjustable wrench.
- Adjust the Water Level:
- Set the float to maintain the water level about an inch below the overflow tube.
- Test the Flush: Turn on the water supply and flush the toilet to ensure the fill valve works correctly.
Why It Works: A new fill valve regulates water flow, preventing continuous running and ensuring the tank refills quickly.
Pro Tip: If you notice any leaks after installation, tighten the connections or add Teflon tape.
3. How to Replace a Flush Valve
A worn or cracked flush valve can cause leaks between the tank and the bowl.
Step-by-Step Guide:
- Turn Off the Water Supply and Drain the Tank
- Remove the Tank:
- Disconnect the water supply line.
- Unscrew the bolts securing the tank to the bowl using a wrench.
- Carefully lift the tank and place it on a towel.
- Remove the Old Flush Valve:
- Unscrew the flush valve lock nut under the tank.
- Remove the old flush valve and flapper.
- Install the New Flush Valve:
- Position the new flush valve and tighten the lock nut securely.
- Attach the new flapper to the flush valve.
- Reassemble the Tank:
- Place the tank back on the bowl, aligning the bolts with the holes.
- Secure the tank with new bolts and washers to prevent leaks.
- Reconnect the Water Supply Line and Test:
- Turn on the water supply and check for leaks.
- Test the flush to ensure the valve is working correctly.
Why It Works: A new flush valve ensures a watertight seal, preventing leaks between the tank and bowl.
Pro Tip: When reassembling the tank, use new bolts and washers to ensure a secure fit and prevent leaks.
4. How to Replace a Toilet Handle
A loose or broken toilet handle can make it challenging to flush.
Step-by-Step Guide:
- Remove the Old Handle:
- Lift the tank lid and unhook the chain from the flush handle arm.
- Unscrew the mounting nut on the inside of the tank using pliers.
- Slide out the old handle.
- Install the New Handle:
- Insert the new handle through the hole in the tank.
- Secure it with the mounting nut, tightening it by hand.
- Reattach the chain to the flush handle arm.
- Test the Flush:
- Test the handle to ensure it moves smoothly and flushes the toilet properly.
Why It Works: A new handle improves flushing efficiency and prevents jamming.
Pro Tip: Toilet handle nuts are reverse-threaded, so turn them clockwise to loosen and counterclockwise to tighten.
When to Call a Professional Plumber
While these DIY replacements are simple, there are times when you should call a professional:
- Persistent Leaks: If the toilet continues to leak after replacing parts.
- Cracked Tank or Bowl: If you notice cracks in the tank or bowl, it’s time for a replacement.
- Multiple Issues: If you experience multiple issues or complicated repairs.
- NYC 24/7 Plumbing Pros is here to help. Call us at (332) 233-7070 for fast and reliable toilet repair services.
