DIY Water Heater Maintenance Tips to Save Money
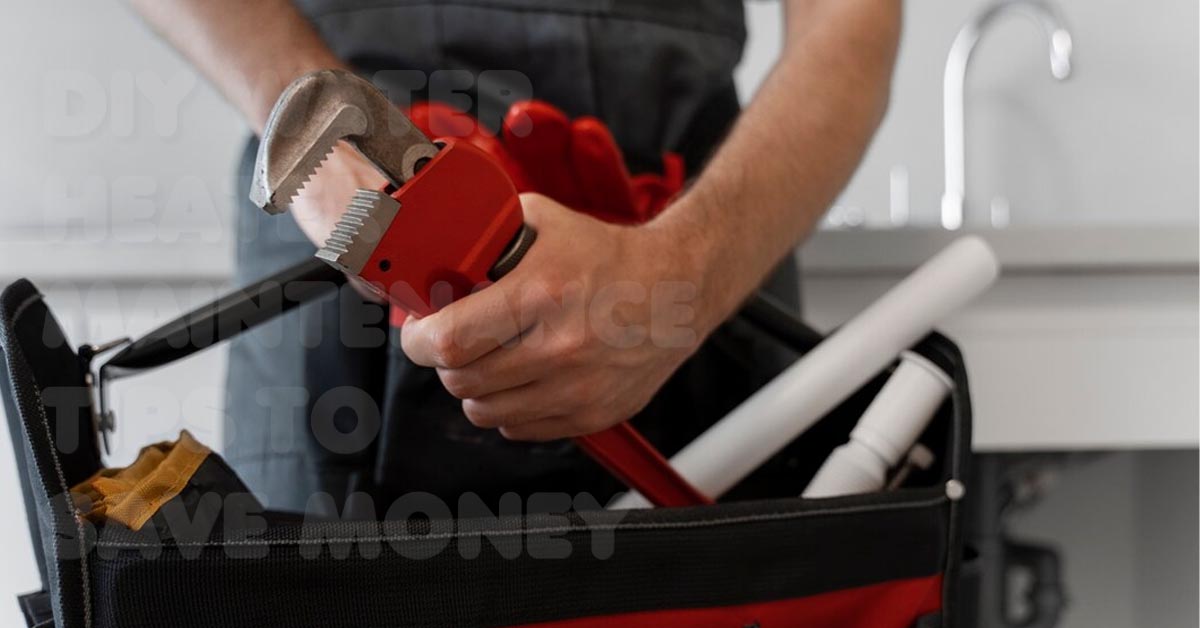
Your water heater is one of the most essential appliances in your home, providing hot water for showers, cooking, and cleaning. But did you know that regular maintenance can extend its lifespan, improve efficiency, and save you money on energy bills? You can keep your water heater running smoothly and avoid costly repairs or replacements by performing a few simple maintenance tasks.
In this guide, we’ll share easy and practical DIY water heater maintenance tips to save money and keep your water heater in top shape. From flushing the tank to inspecting the anode rod, these tasks require minimal tools and take a few minutes to complete.
However, if you encounter significant issues or need professional assistance, NYC 24/7 Plumbing Pros is here to help. Call us at (332) 233-7070 for expert water heater maintenance and repair services.
Table of Contents
Why Regular Water Heater Maintenance is Important
Before we dive into the maintenance tips, let’s look at why regular water heater maintenance is essential:
Extend the Life of Your Water Heater
A well-maintained water heater lasts longer, delaying the need for a costly replacement. Regular maintenance helps prevent sediment buildup, corrosion, and other issues that shorten the appliance’s lifespan.
Improve Efficiency and Save on Energy Bills
Sediment buildup in the tank reduces the efficiency of your water heater, leading to increased energy consumption. Regular flushing and cleaning improve efficiency, lowering your energy bills.
Prevent Costly Repairs and Water Damage
Routine maintenance helps identify minor issues before they become major problems, preventing leaks, water damage, and expensive repairs.
Maintain Safe and Consistent Hot Water Supply
Proper maintenance ensures a steady hot water supply at the desired temperature, preventing fluctuations and ensuring safety.
Tools and Materials You’ll Need
Before you begin, gather the following tools and materials for water heater maintenance:
- Garden Hose: This is for draining and flushing the water heater tank.
- Bucket and Towels: To catch water spills and clean up.
- Adjustable Wrench: For tightening or loosening connections.
- Plumber’s Tape (Teflon Tape): Ensures a watertight seal on connections.
- Vinegar: For cleaning mineral deposits and sediment.
- Socket Wrench: For inspecting and replacing the anode rod.
- Water Heater Manual: Refer to the manufacturer’s manual for specific maintenance instructions and safety precautions.
Pro Tip: Always follow safety precautions and turn off the power supply before performing any maintenance tasks.
Step-by-Step Guide to DIY Water Heater Maintenance
1. Turn Off the Power Supply
Before performing any maintenance on your water heater, always turn off the power supply to ensure safety:
- For Electric Water Heaters: Locate the circuit breaker and turn it off.
- For Gas Water Heaters: Set the thermostat to “Pilot” mode.
Why It Works: While performing maintenance, turning off the power prevents electrical shocks or accidental heating.
2. Check and Adjust the Temperature Setting
Setting the water heater thermostat to the right temperature improves efficiency and prevents scalding accidents.
Step-by-Step Guide:
- Locate the Thermostat: It’s usually behind an access panel on electric water heaters or near the gas valve on gas models.
- Check the Temperature Setting: The recommended energy efficiency and safety setting is 120°F.
- Adjust the Temperature: If it’s set higher than 120°F, turn it down to reduce energy consumption and prevent scalding.
- Replace the Access Panel: Secure the access panel back in place.
Why It Works: Lowering the temperature reduces energy usage, saving you money on utility bills while ensuring safety.
Pro Tip: Every 10°F reduction in temperature setting can save 3%–5% on energy costs.
3. Test the Pressure Relief Valve
The pressure relief valve (T&P valve) prevents excessive pressure buildup in the tank, ensuring safety.
Step-by-Step Guide:
- Locate the T&P Valve: It’s usually on the side or top of the water heater, connected to a discharge pipe.
- Test the Valve:
- Place a bucket under the discharge pipe.
- Lift the lever on the valve to release water. You should hear a rush of water or air.
- Check for Proper Function: If water continues to flow or drips after testing, the valve may be faulty and needs replacement.
Why It Works: Testing the pressure relief valve ensures it’s functioning correctly, preventing tank explosions or leaks.
Pro Tip: If the T&P valve is defective, replace it immediately to ensure safety.
4. Drain and Flush the Tank
Sediment and mineral buildup at the bottom of the tank reduce efficiency and cause noise. Flushing the tank once a year removes sediment and extends the life of your water heater.
Step-by-Step Guide:
- Turn Off the Water Supply: Turn off the cold water supply valve at the top of the water heater.
- Attach a Garden Hose: Connect a garden hose to the drain valve at the bottom of the tank and run the hose to a floor drain or outside area.
- Drain the Tank: Open the drain valve and allow the water to flow out, flushing away sediment and debris.
- Flush with Cold Water: Turn on the cold water supply for a few minutes to rinse any remaining sediment.
- Close the Valve and Refill the Tank: To refill the tank, close the drain valve, disconnect the hose, and open the cold water supply valve.
- Turn the Power Back On: Once the tank is full, turn the power supply back on.
Why It Works: Draining and flushing the tank removes sediment buildup, improving heating efficiency and extending the appliance’s lifespan.
Pro Tip: Perform this maintenance task once a year for optimal performance and efficiency.
5. Inspect and Replace the Anode Rod
The anode rod prevents corrosion inside the tank by attracting minerals that cause rust. Checking and replacing it every 2–3 years prevents tank corrosion and extends the water heater’s life.
Step-by-Step Guide:
- Turn Off the Power and Water Supply
- Locate the Anode Rod: It’s typically located on the top of the water heater.
- Remove the Anode Rod: Use a socket wrench to unscrew the anode rod.
- Inspect for Corrosion: If the rod is heavily corroded or less than half an inch thick, replace it with a new one.
- Install the New Anode Rod: Wrap the threads with the plumber’s tape and screw it back in place.
Why It Works: The anode rod sacrifices itself to corrosion, protecting the tank from rust and extending its lifespan.
Pro Tip: Choose a magnesium or aluminum anode rod for optimal corrosion protection.
When to Call a Professional Plumber
While these DIY maintenance tasks are safe and easy, there are times when you should call a professional:
- Major Leaks: If you notice water pooling around the water heater’s base.
- Strange Noises: Rumbling, popping, or banging noises could indicate a serious issue.
- Inconsistent Water Temperature: If water temperature fluctuates or you quickly run out of hot water.
- Rusty Water: If the water appears rusty, it could indicate tank corrosion.
NYC 24/7 Plumbing Pros offers expert water heater repair and maintenance services. Call us at (332) 233-7070 for fast and reliable assistance.
Regular water heater maintenance is the key to extending its lifespan, improving efficiency, and saving money on energy bills. Following these DIY tips, you can keep your water heater in top shape and prevent costly repairs.
However, if you encounter major issues or need professional assistance, don’t hesitate to contact NYC 24/7 Plumbing Pros.
Call us today at (332) 233-7070 or visit nycplumbingpros.com to schedule a service.
FAQs
How often should I flush my water heater?
It’s recommended to flush your water heater once a year to remove sediment buildup and improve efficiency.
What temperature should I set my water heater to?
The recommended temperature setting is 120°F for safety and energy efficiency.
