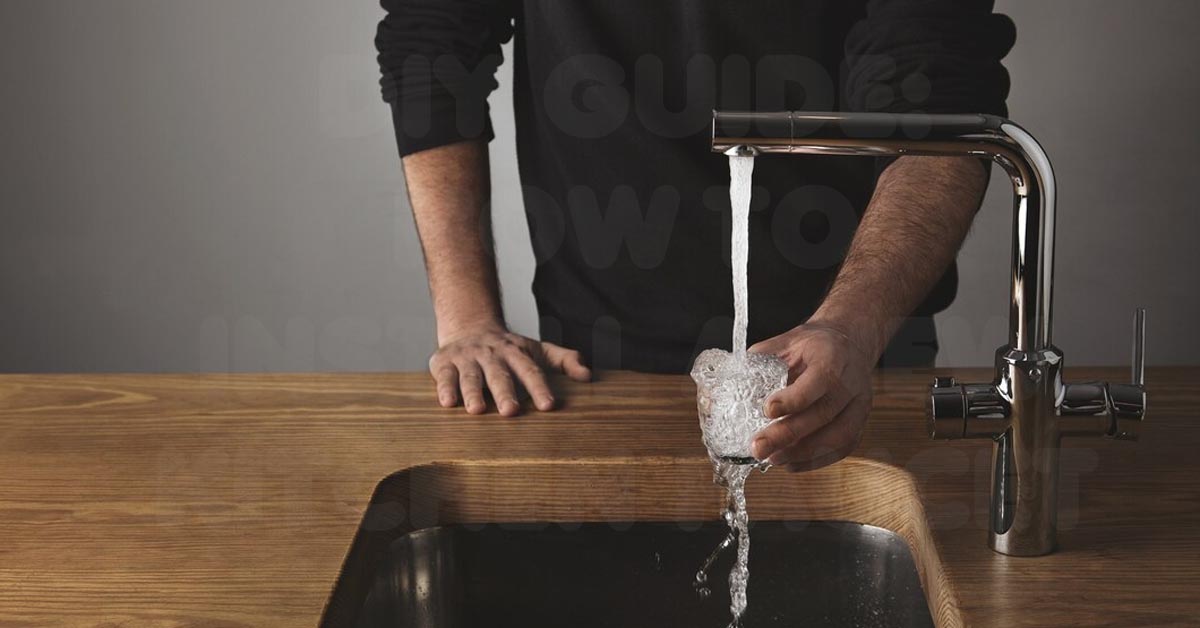
DIY Guide: How to Install a New Kitchen Faucet
Installing a new kitchen faucet is a great way to update your kitchen’s look and improve functionality. The good news? You don’t need to hire a plumber. With the right tools and patience, you can install a new kitchen faucet yourself in just a few hours.
In this step-by-step DIY guide, we’ll walk you through installing a new kitchen faucet, from choosing the right model to connecting the water supply. Whether upgrading to a high-arc pull-down faucet or replacing an old leaky one, this guide covers everything you need to know.
However, if you encounter any issues or need professional assistance, NYC 24/7 Plumbing Pros is here to help. Call us at (332) 233-7070 for expert faucet installation services.
Table of Contents
Why Install a New Kitchen Faucet?
Before you begin, consider why you might want to install a new kitchen faucet. Knowing the benefits can help you choose the right model for your needs.
Upgrade the Look of Your Kitchen
A new faucet can instantly refresh your kitchen’s appearance, giving it a modern and stylish look. You can easily match your faucet with your kitchen decor with various finishes like stainless steel, matte black, and brushed nickel.
Improve Functionality
Newer faucet models offer enhanced functionality, including pull-down sprayers, touchless operation, and adjustable spray settings, making kitchen tasks more convenient.
Fix Leaks and Drips
If your old faucet is leaking or dripping, replacing it with a new one not only solves the problem but also prevents water waste and reduces utility bills.
Increase Home Value
Upgrading your kitchen faucet is a small but impactful improvement that can increase your home’s value, especially if you choose a high-quality, modern model.
Tools and Materials Needed
Before you get started, gather the necessary tools and materials to make the installation quick and easy:
- New Kitchen Faucet: Choose a model that fits your sink configuration (1, 2, 3, or 4 holes).
- Adjustable Wrench: For tightening connections.
- Basin Wrench: Ideal for reaching and loosening hard-to-reach nuts under the sink.
- Plumber’s Putty or Silicone Sealant: To create a watertight seal.
- Teflon Tape (Plumber’s Tape): Ensures a leak-free connection for water supply lines.
- Bucket and Towels: To catch any water spills.
- Cleaning Supplies: Vinegar and a scrub brush for cleaning buildup on the sink surface.
Step-by-Step Guide to Installing a New Kitchen Faucet
H3: 1. Choose the Right Faucet for Your Sink
Before you buy a new faucet, check your sink’s configuration:
- Number of Holes: Most sinks have 1, 2, 3, or 4 mounting holes. Choose a faucet that matches your sink’s hole pattern.
- Deck-Mount vs. Wall-Mount: Make sure the faucet is compatible with your sink type.
- Sprayer Options: Decide if you want a pull-down sprayer, side sprayer, or touchless faucet.
Pro Tip: If your sink has more holes than your new faucet requires, use a deck plate to cover the extra holes.
2. Turn Off the Water Supply
To avoid leaks or water damage during installation:
- Locate the shut-off valves under the sink and turn them clockwise to close them.
- If you don’t have shut-off valves under the sink, turn off the main water supply for your home.
- Turn on the faucet to release any remaining water pressure.
Why It Works: Turning off the water supply prevents water from flowing while you’re working on the installation.
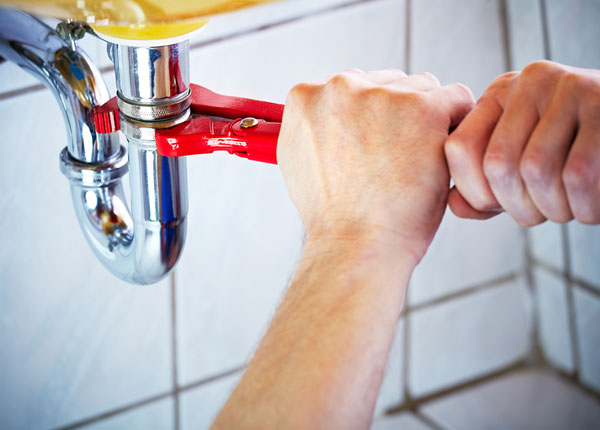
3. Remove the Old Faucet
- Disconnect Water Supply Lines:
- Use an adjustable wrench to disconnect the old faucet’s hot and cold water supply lines.
- Place a bucket underneath to catch any water that drips out.
- Loosen Mounting Nuts:
- Use a basin wrench to reach and loosen the mounting nuts holding the old faucet in place.
- If the nuts are stuck due to corrosion, apply penetrating oil to loosen them.
- Remove the Old Faucet:
- Lift the old faucet out of the mounting holes.
- Clean the sink area to remove old plumber’s putty, mineral deposits, and debris.
Pro Tip: Take a photo of the old faucet’s configuration before removal. It can help when connecting the new faucet.
4. Install the New Faucet
- Assemble the New Faucet:
- Follow the manufacturer’s instructions to assemble parts, including the sprayer hose or mounting plate.
- Apply Plumber’s Putty or Sealant:
- Apply the plumber’s putty or silicone sealant around the base of the new faucet to create a watertight seal.
- Insert the Faucet into the Mounting Holes:
- Position the new faucet into the mounting holes on the sink deck.
- Ensure the faucet is centered and aligned correctly.
- Secure the Faucet:
- Secure the faucet with mounting nuts from under the sink using a basin wrench.
- Tighten the nuts evenly to keep the faucet stable and prevent leaks.
Why It Works: Proper alignment and secure mounting ensure a leak-free installation and prevent the faucet from wobbling.
5. Connect Water Supply Lines
- Attach Supply Lines:
- Connect the hot and cold water supply lines to the corresponding inlets on the faucet.
- Use Teflon tape on the threads to ensure a watertight seal.
- Tighten Connections:
- Tighten the connections with an adjustable wrench, but avoid over-tightening to prevent damage.
- Check for Leaks:
- Turn on the water supply valves and check for leaks at all connection points.
- If you notice any leaks, slightly tighten the connections or add Teflon tape.
Pro Tip: Check the faucet’s installation manual for specific instructions on connecting water supply lines.
6. Test and Clean Up
- Test the Faucet:
- Turn on the faucet and check for proper water flow and temperature control.
- Test all functions, including the sprayer, if applicable.
- Check for Leaks:
- Inspect all connections under the sink for leaks. Tighten any loose connections as needed.
- Clean Up:
- Wipe away any excess plumber’s putty or sealant.
- Clean the sink and surrounding area.
Why It Works: Testing and cleaning up ensures everything functions properly and looks great.
When to Call a Professional Plumber
While installing a kitchen faucet is a straightforward DIY task, there are times when you should call a professional:
- Leaking Pipes: If you notice water leaks under the sink that don’t stop after tightening connections.
- Damaged Shut-Off Valves: If the shut-off valves are corroded or won’t close completely.
- Low Water Pressure: If water pressure remains low after installation, there may be a clog or plumbing issue.
- Complex Installations: If you’re installing a touchless or custom faucet system.
NYC 24/7 Plumbing Pros offers expert faucet installation services. Call us at (332) 233-7070 for fast and reliable assistance.
Installing a new kitchen faucet is a simple and rewarding DIY project that can improve the functionality and look of your kitchen. Following these step-by-step instructions, you can complete the installation without professional help.
However, if you encounter any issues or need expert assistance, don’t hesitate to contact NYC 24/7 Plumbing Pros. We’re here to ensure your plumbing system runs smoothly.
Call us today at (332) 233-7070 or visit nycplumbingpros.com to schedule a service.
FAQs
Can I install a kitchen faucet without a plumber’s putty?
Yes, you can use silicone sealant as an alternative for a watertight seal.
How long does it take to install a kitchen faucet?
It typically takes about 1-2 hours, depending on your experience level.